If your Avondale home or business has dusty vents, stale air, or energy bills that keep climbing, your air ducts may be part of the problem. Dust, allergens, and debris build up inside ductwork over time, and Arizona's dry, dusty climate makes things worse. The good news is that DIY duct cleaning can reduce visible dust and offer minor improvements for homes with mild buildup. This guide walks you through exactly what tools you need, how to clean your ducts step by step, what results to realistically expect, and when it makes more sense to call a professional.
Table of Contents
- What you need before you start: Tools, costs, and safety
- Step-by-step guide to DIY duct cleaning
- How DIY duct cleaning affects your air quality and energy bills
- Troubleshooting and when to hire a professional
- Our take: Why DIY isn't always enough for lasting results
- Connect with local duct cleaning experts
- Frequently asked questions
Key Takeaways
| Point | Details |
|---|---|
| DIY is suitable for surface dust | Most homeowners can tackle minor duct cleaning for visible dirt and dust using basic tools. |
| Major gains need professional help | Significant energy savings and airflow improvements typically require pro-grade cleaning. |
| Prioritize safety and proper tools | Always turn off HVAC, wear PPE, and use the right equipment to avoid risk. |
| EPA guidelines matter | Only clean ducts yourself if you see visible dust, mold, or pests—routine cleaning isn’t usually needed. |
What you need before you start: Tools, costs, and safety
Before you touch a single vent cover, you need the right gear. Skipping prep is the fastest way to make a mess, damage your system, or breathe in a cloud of dust you were trying to get rid of.
DIY duct cleaning takes 4 to 6 hours and costs between $50 and $100 in supplies. That includes a shop vac, extension pole, duct brush, drill with brush attachment, and basic cleaning solution. Compare that to professional cleaning, which typically runs $300 to $500 for a full home.
Tools and supplies checklist:
- Shop vac with a long hose
- Flexible duct brush and extension pole
- Drill with a round brush attachment
- Screwdriver (for removing vent covers)
- Mild dish soap and warm water
- Microfiber cloths
- Replacement air filter
Personal protective equipment (PPE) you must wear:
- N95 or P100 respirator mask
- Safety goggles
- Disposable gloves
| Item | Estimated cost |
|---|---|
| Shop vac (if you don't own one) | $40–$60 |
| Duct brush kit | $15–$25 |
| Replacement air filter | $10–$20 |
| PPE (mask, goggles, gloves) | $10–$15 |
"The single most important step before you start is turning off your HVAC system completely. Cleaning with the system running spreads dust through your home instead of removing it."
Pro Tip: Schedule your air filter replacement on the same day as your duct cleaning. A fresh filter right after cleaning prevents loose debris from recirculating immediately.
If your ducts are in walls or ceilings that you cannot physically reach, or if you suspect mold or pest activity, stop here. Those situations need professional equipment and expertise, not a shop vac.
Step-by-step guide to DIY duct cleaning
With your tools ready and your HVAC system off, you are set to start. Work room by room so you stay organized and do not miss any vents.
The process involves removing vent covers, brushing and vacuuming accessible ducts, and replacing air filters. Here is the exact sequence:
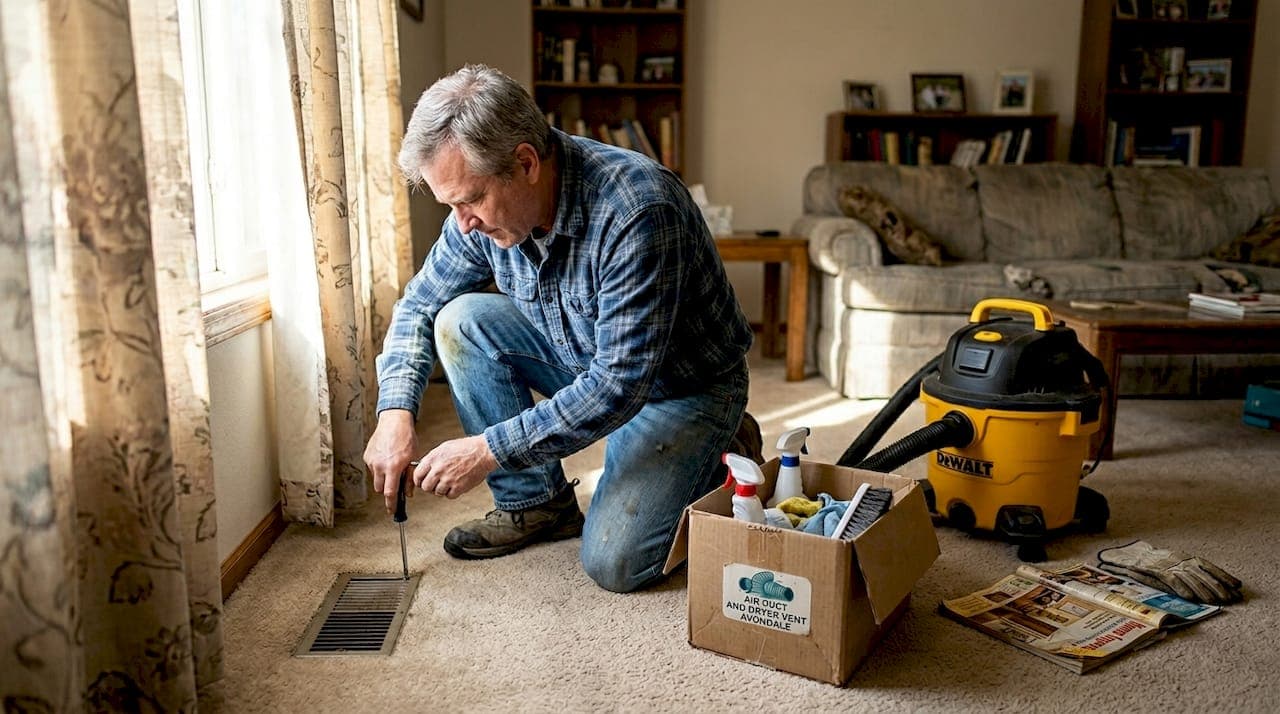
- Turn off your HVAC system at the thermostat and the breaker. Do not skip the breaker step.
- Remove all vent covers using your screwdriver. Place them in a sink or bucket with warm, soapy water to soak.
- Cover open vents with paper towels or old rags to block dislodged dust from entering other rooms while you work.
- Insert your duct brush on the extension pole into each duct opening. Scrub in a circular motion, pushing debris toward the opening.
- Use your shop vac to suction out loosened dust and debris from each duct. Go as deep as your hose allows.
- Switch to the drill brush for stubborn buildup near the vent opening. This is especially useful in older Avondale homes with years of accumulated grime.
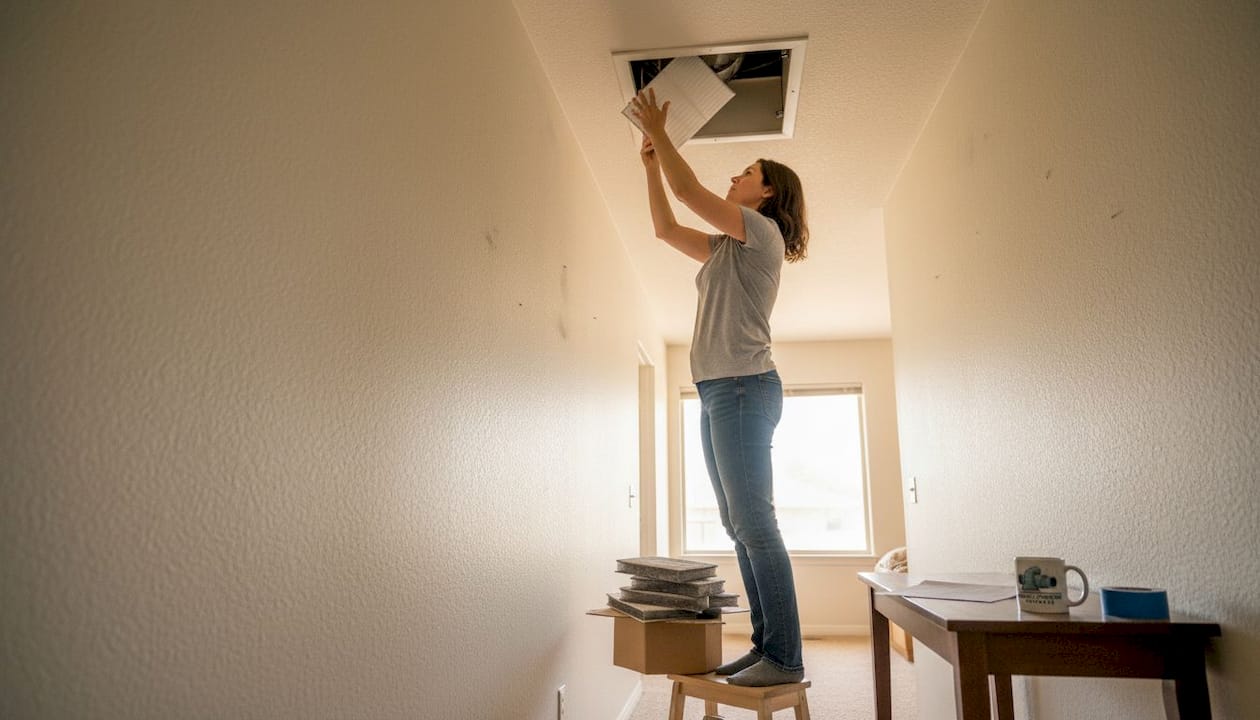
- Rinse and dry the vent covers you soaked earlier, then reattach them once fully dry.
- Replace your air filter before turning the system back on.
- Run your HVAC briefly for 10 to 15 minutes, then check the new filter for any remaining debris.
For more duct and vent cleaning tips specific to Arizona homes, or if you want to understand the right intervals for cleaning, scheduling HVAC cleaning based on your system's age and usage is a smart starting point.
| Step | Time required | Difficulty |
|---|---|---|
| Removing and soaking vent covers | 15 min | Easy |
| Brushing and vacuuming ducts | 2–3 hours | Moderate |
| Replacing filter and reassembling | 20 min | Easy |
Pro Tip: Take a photo inside each duct with your phone flashlight before you start. It gives you a clear before-and-after comparison and helps you spot anything unusual, like moisture or dark staining.
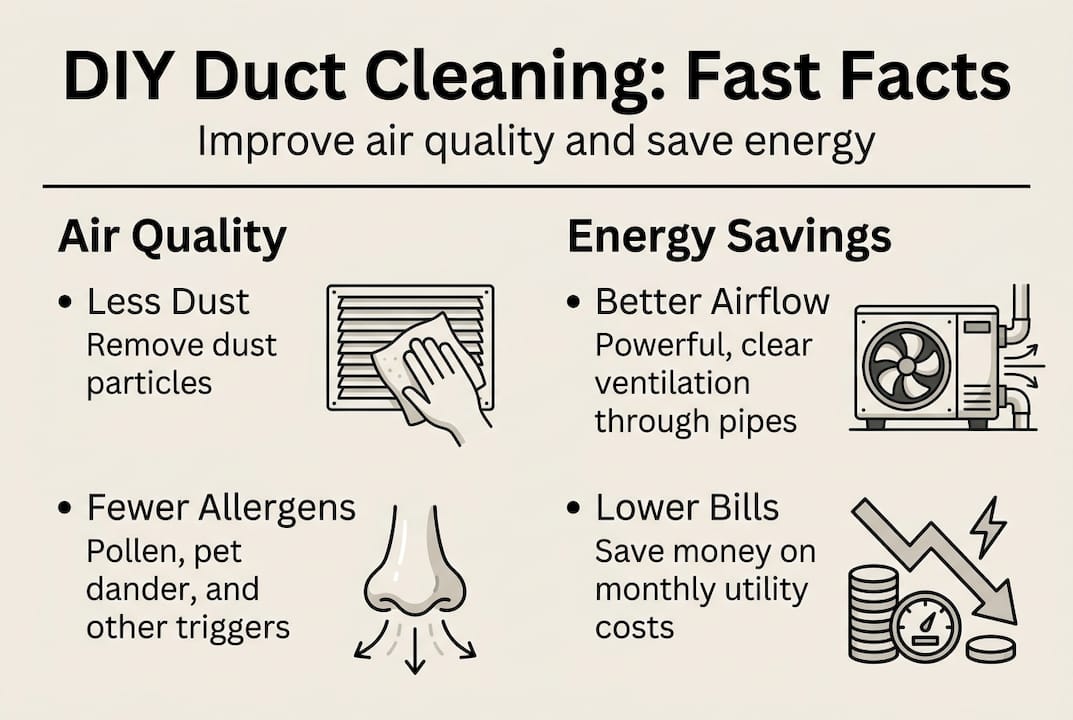
How DIY duct cleaning affects your air quality and energy bills
Once the job is done, you will probably notice less visible dust on surfaces within a week. That is a real, tangible result. But it is important to set honest expectations about what DIY cleaning can and cannot do.
The EPA states that duct cleaning shows no conclusive health or efficiency improvements unless there is confirmed mold, pest infestation, or excessive dust buildup. In other words, routine cleaning for a healthy system may not deliver dramatic results.
That said, if your ducts are visibly dirty or your home is dusty no matter how often you clean, a DIY session can make a noticeable difference. Combine it with filter replacement best practices to keep air quality consistent between cleanings.
For deeper improvements, HVAC cleaning research shows that professional cleaning can yield 41 to 60 percent energy savings and 10 to 46 percent airflow gains. DIY cleaning cannot replicate those numbers because it only reaches accessible duct sections.
Signs that DIY cleaning helped:
- Less dust on furniture within 7 to 10 days
- Reduced musty or stale smell from vents
- Slightly improved airflow from registers
- Lower allergy symptoms for sensitive household members
Signs DIY is not enough and you need a residential duct cleaning guide:
- Airflow is still weak after cleaning
- Odors persist or return quickly
- Energy bills remain unusually high
- You notice dark staining or moisture inside ducts
Troubleshooting and when to hire a professional
Even a careful DIY job has limits. Some problems simply cannot be fixed with a shop vac and a brush, and pushing forward in those cases can make things worse.
The EPA recommends professional cleaning only for mold, pests, or serious dust accumulation. If you find any of those during your DIY session, stop and call a pro.
Common DIY mistakes that cause problems:
- Puncturing flexible duct sections with the brush
- Leaving duct openings uncovered and spreading debris
- Forgetting to replace the air filter after cleaning
- Cleaning only the visible vent covers and skipping the ducts entirely
- Turning the system back on before covers are fully reattached
"If you smell mold, see dark spotting inside ducts, or find evidence of rodent activity, do not attempt to clean it yourself. Those situations require containment, not just vacuuming."
For situations like these, the benefits of professional cleaning go well beyond what any DIY approach can offer. Professionals use negative pressure equipment, truck-mounted vacuums, and antimicrobial treatments that reach every section of your duct system.
Business owners should also consider that commercial duct cleaning services address larger, more complex duct systems where DIY is not practical or safe. Pro HVAC cleaning yields major airflow and energy benefits that translate directly to lower operating costs for businesses.
The cost tradeoff is real. DIY costs $50 to $100 but delivers surface-level results. Professional cleaning costs more upfront but can prevent costly HVAC repairs and reduce energy bills significantly over time.
Our take: Why DIY isn't always enough for lasting results
We have seen a lot of Avondale homes where the homeowner did a solid DIY cleaning job and still called us a month later with the same complaints. That is not a knock on DIY effort. It is just the reality of what a brush and shop vac can reach.
DIY duct cleaning is genuinely useful for surface-level dust and mild buildup. It is a good habit, and doing it once a year keeps your system from getting overwhelmed. But it will not fix poor airflow, deep contamination, or the kind of buildup that affects your energy bills in a meaningful way.
Research backs this up. DIY cleaning yields surface-level benefit only, while professional cleaning supports significant energy efficiency and airflow increases that DIY simply cannot match.
The smartest approach for Avondale homeowners and business owners is to combine both. Do your own light maintenance every 6 to 12 months, and schedule a professional cleaning every 3 to 5 years or whenever you notice persistent problems. For more context on what professional service looks like locally, HVAC service insights can help you decide when the time is right.
Connect with local duct cleaning experts
DIY cleaning is a great starting point, but when dust keeps coming back, odors linger, or your energy bills stay stubbornly high, it is time to bring in professionals with the right equipment.
At Air Duct and Dryer Vent Cleaning Avondale, we serve homeowners and businesses throughout Avondale with deep-cleaning services that reach every corner of your duct system. Whether you need residential duct cleaning, commercial services for your business, or a full air quality testing session to understand what is actually in your air, we make it easy. Flexible scheduling, including after-hours options, means you do not have to rearrange your day. Reach out today and let us handle what the shop vac cannot.
Frequently asked questions
How often should I clean my air ducts in Avondale, AZ?
Clean your air ducts only when there is visible mold, pest activity, or heavy dust buildup. Routine cleaning is not necessary for a properly functioning system, according to the EPA.
Is DIY duct cleaning effective for energy savings?
DIY cleaning removes surface dust and can improve minor airflow, but professional cleaning yields 41 to 60 percent energy gains and up to 46 percent airflow improvement, which DIY cannot match.
What tools do I need for DIY duct cleaning?
You need a shop vac, duct brush, extension pole, drill with brush attachment, N95 mask, safety goggles, gloves, and a replacement air filter.
When should I hire a pro instead of doing it myself?
Hire a professional if you find mold, pests, or persistent odors, or if your ducts are in walls or ceilings you cannot safely reach with standard DIY tools.