
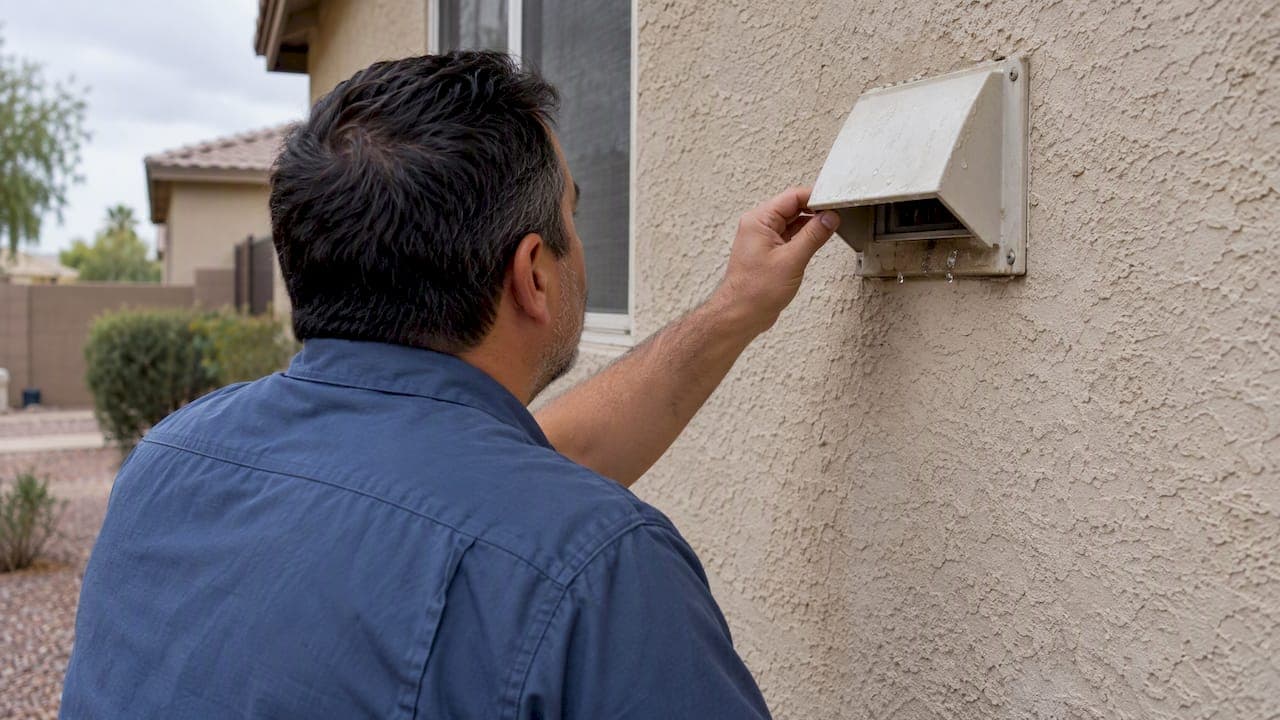
Water dripping from your dryer vent can come from condensation in a long or sagging duct, a lint blockage trapping moisture, or outside water getting in through a damaged exterior hood. If water is entering your home or airflow feels weak, stop using the dryer, unplug it or shut off the gas, and check the outside vent before running another load.
TL;DR:
- Dripping only after rain or snow points to a hood, flashing, or wall leak; recurring moisture, especially in cold weather, suggests condensation or restricted airflow.
- With the dryer running, the exterior flap should open and airflow should feel steady; weak output suggests a blockage farther along the duct.
- CPSC testing found that exhaust blockages of 75% or 100% made dryers cycle on the high limit thermostat and raised temperatures near the heater.
- Smooth rigid metal ducting, a slight downward slope toward the exterior, and insulation across cold attic sections reduce lint buildup and condensation.
- If airflow stays weak after cleaning the connector and hood, or the full duct run is inaccessible, stop disassembling and call a professional.
Table of Contents
- Common causes explained: condensation, lint blockages, and outside intrusion
- How to tell condensation versus an external leak: outside-in checks
- Step-by-step homeowner troubleshooting and temporary fixes
- Safety signals and when to stop using the dryer
- What professionals do and preventive upgrades that stop dripping
- Author perspective: safety first, restore airflow, then prevent
- Professional dryer vent cleaning and inspection
- FAQ
- Sources
Common causes explained: condensation, lint blockages, and outside intrusion
Warm, moist air leaves your dryer every time you run a load. When that exhaust travels through a duct that's too long, runs through a cold attic or crawl space, or sags in the middle, the moisture inside it cools and turns back into liquid water. That condensation clings to the duct walls, mixes with passing lint, and eventually drips back out at the nearest low point or joint.

Lint makes the problem worse. As it builds up along the interior walls of the duct, it narrows the path air can travel through, which raises resistance and gives moisture more surface area to collect on. A troubleshooting guide from AppliancePartsPros recommends disconnecting and vacuuming the connector regularly and keeping the duct run within the length your dryer's manufacturer allows, specifically to keep airflow strong enough to carry moisture outside instead of letting it settle.
Outside water is a separate issue entirely. A damaged exterior hood, a flap that's stuck or rusted open, cracked flashing where the duct passes through a wall or roof, or gaps around the termination point can all let rain or snowmelt travel backward into the duct.
- Condensation builds when warm exhaust cools inside a long, sagging, or uninsulated duct run.
- Lint buildup narrows airflow and gives moisture more surface to collect on.
- A damaged or stuck exterior hood, cracked flashing, or open gaps let outside water in.
How to tell condensation versus an external leak: outside-in checks
Before touching any duct sections, run a quick outside-in check to narrow down what you're dealing with.
- Start the dryer and walk outside to watch the exterior hood. The flap should swing open and you should feel steady, strong airflow; a weak puff or a flap that barely moves points to a blockage somewhere in the run.
- Note when the dripping happens. Water that only shows up after rain or snow points to an exterior leak around the hood, flashing, or wall penetration. Water that appears regularly, especially in cold weather or after long drying cycles, points to condensation or a lint-driven blockage.
- Inspect any duct sections you can reach without removing drywall. Look for sagging stretches, wet or matted lint, crushed or kinked connectors behind the dryer, and long runs through an attic or crawl space where temperatures swing widely.
The Topical Fire Report Series on clothes dryer fires identifies long ducts, sharp bends, and lint accumulation as recurring hazards that line up almost exactly with these same trouble spots, which is why checking from the outside hood inward catches most problems quickly.
Step-by-step homeowner troubleshooting and temporary fixes
A few basic steps can restore airflow and tell you whether the problem needs professional attention.
- Unplug the dryer or shut off its gas supply before disconnecting any duct section. Working on a live appliance is unnecessary and avoidable risk.
- Pull the dryer away from the wall and disconnect the short connector hose. Check it for crushing, sagging, or a buildup of wet lint, and vacuum out anything you find.
- Go outside and test airflow at the hood again with the dryer running. Strong, steady air means the blockage was likely in the connector; weak or absent airflow means the obstruction is further down the line.
- Clean the exterior hood itself: clear away lint, leaves, nesting material, or debris, and confirm the flap opens and closes freely.
- Reconnect everything securely, making sure the connector isn't crushed or kinked behind the dryer, and run a short test load.
A practical field guide on water in dryer vent hoses lists dirty or clogged vents, uninsulated ducts crossing cold spaces, long or curvy runs, sagging low points, and crushed flex connectors as the most common causes technicians find, which tracks closely with what a homeowner can check during a basic inspection.
If airflow stays weak after these steps, or you can't safely reach the full duct run because it travels through an attic or wall cavity, that's the point to call a professional rather than keep disassembling ductwork.
Pro Tip: Keep a small shop vacuum with a narrow nozzle attachment near the laundry area. It makes clearing the connector and exterior hood a simpler task.
Safety signals and when to stop using the dryer
A dripping vent is sometimes a sign of a bigger airflow problem, and restricted exhaust is a documented fire risk, not just a cleaning inconvenience.
CPSC testing found that 75% or 100% blocked exhaust vents caused dryers to cycle on their high-limit thermostat and significantly raised temperatures near the heater, which is the mechanism behind many dryer fires linked to lint and blocked vents.
Watch for these warning signs:
- Clothes taking noticeably longer to dry than usual.
- The dryer cycling on and off or shutting down mid-load.
- A burning smell during or after operation.
- Damp or matted lint collecting at the exterior hood.
If you notice overheating, smoke, or any burning odor, stop the dryer immediately, unplug it or shut off the gas, ventilate the room, and call a professional before running it again.
What professionals do and preventive upgrades that stop dripping
A professional visit typically starts with a camera inspection to see the full length of the duct, including sections hidden in walls, attics, or crawl spaces. From there, a full cleaning removes wet lint, nests, and debris that a shop vacuum can't reach, joints get resealed where needed, and any damaged exterior hood or crushed connector gets replaced.
- Camera inspection maps the entire duct run, including hidden sections.
- Full cleaning clears wet lint, debris, and nesting material from end to end.
- Resealing joints and replacing damaged hoods or connectors closes off entry points for outside water.
Several upgrades reduce the odds of dripping coming back. Replacing corrugated flex ducting with smooth rigid metal cuts down on the ridges where lint and condensation collect, a point echoed in USFA's clothes dryer fire safety guidance, which calls for metal ducting with a smooth interior finish vented directly outdoors. Making sure the duct slopes slightly downward toward the exterior also helps condensate drain out instead of pooling at a low spot. Where metal ductwork has to cross a cold attic or crawl space, insulating that section keeps the exhaust warmer longer, which reduces condensation the same way insulating an attic helps control temperature swings near the roofline.
Persistent moisture after cleaning, duct routing you can't fully access, signs of a structural leak, or any overheating symptoms are all good reasons to bring in a professional rather than keep troubleshooting solo.
Pro Tip: Ask whoever inspects your vent to check the slope and support points, not just clean the lint. A duct that sags even slightly can undo a fresh cleaning within a few months.
Author perspective: safety first, restore airflow, then prevent
The hidden culprits I run into most are crushed connectors behind the dryer, low spots in flex ducting that nobody notices until they're pulled apart, and attic sections that turn into cold spots the moment the seasons change. Cleaning the lint screen matters, but it rarely fixes moisture that's forming further down the vent path. If clearing the hood and connector doesn't bring back strong airflow outside, that's your cue to get the full run inspected rather than wait it out.
— Shaun
Professional dryer vent cleaning and inspection
When clearing the connector and hood doesn't solve it, an inspection can help find what's actually trapping moisture, whether that's wet lint deep in the run, a damaged hood, or a duct that's routed through a cold space without insulation.

- A thorough cleaning removes wet lint and debris that restore airflow from end to end.
- An inspection can identify damage along the way and inform repair recommendations.
- Minor fixes like resealing a joint or replacing a hood may be possible.
If your vent keeps dripping or drying times keep stretching longer, book a dryer vent cleaning and get the full duct run checked before it becomes a bigger repair.
FAQ
Why would you have water in your dryer vent?
Water usually forms when warm, moist exhaust condenses inside a long, sagging, or cold duct run, or when lint buildup slows airflow enough for moisture to collect. It can also mean outside water is getting in through a damaged exterior hood, cracked flashing, or an open gap around the termination point.
Can I still use my dryer if the vent is broken?
Running a dryer with a broken, crushed, disconnected, or leaking vent is not a good idea, since it lets moist exhaust and lint collect where they shouldn't and raises the risk of overheating. Stop using the dryer, unplug it or shut off the gas, and have the vent inspected before the next load.
How often should dryer vents be blown out?
There's no single interval that fits every home, since it depends on how often you dry clothes, how long and bent the duct run is, and whether pets add extra lint. A good rule of thumb is to schedule a professional cleaning when drying times start creeping up, and sooner if you notice moisture or a burning smell; our guide to cleaning frequency walks through how to set a schedule.
What are the signs of a dying dryer?
Longer drying times, the dryer cycling on and off mid-load, weak airflow at the outside hood, damp lint, and a burning odor are all signs worth checking, and they often point to a restricted vent rather than a failing dryer itself. CPSC testing found that blocked exhaust can cause the high-limit thermostat to cycle repeatedly and raise temperatures near the heater, which matches these same symptoms.
Sources
- Topical Fire Report Series: Clothes Dryer Fires in Residential Buildings (2008-2010)
- Final Report on Electric Clothes Dryers and Lint Ignition Characteristics - May 2003
- How to fix dryer condensation: A troubleshooting guide
- 6 Reasons For Water In Dryer Vent Hoses (Clog #1 Issue)