
Yes, many roof-exiting dryer vents can be partially cleaned by a careful homeowner, but long or inaccessible runs, pest screens, and damaged roof caps often call for a professional. If your dryer takes longer than normal to dry clothes or you spot lint around the roof termination, start with the interior steps below, then decide whether the roof portion is safe to tackle yourself.
TL;DR:
- Start at the dryer: unplug it, vacuum the exhaust port and first few feet, then brush toward the roof before checking airflow.
- Portland code guidance prohibits perforated pest screens at dryer terminations; replace a screened cap with a compliant backdraft damper or louver.
- Clean annually as a baseline, and do it more often if you dry laundry daily, handle pet bedding, or have a long duct run.
- Skip roof access on steep, metal, wet, or windy surfaces, and hire a professional for long or inaccessible ducts, recurring clogs, or damaged flashing.
Table of Contents
- Step-by-step methods for cleaning a roof-exit dryer vent
- Safety and roof-specific checks before you climb up
- How often to clean and what to check between visits
- Deciding when to hire a professional
- What field visits typically reveal about roof vents
- A safety-first approach to vent maintenance
- Getting help with your roof dryer vent
- FAQ
- Sources
Step-by-step methods for cleaning a roof-exit dryer vent
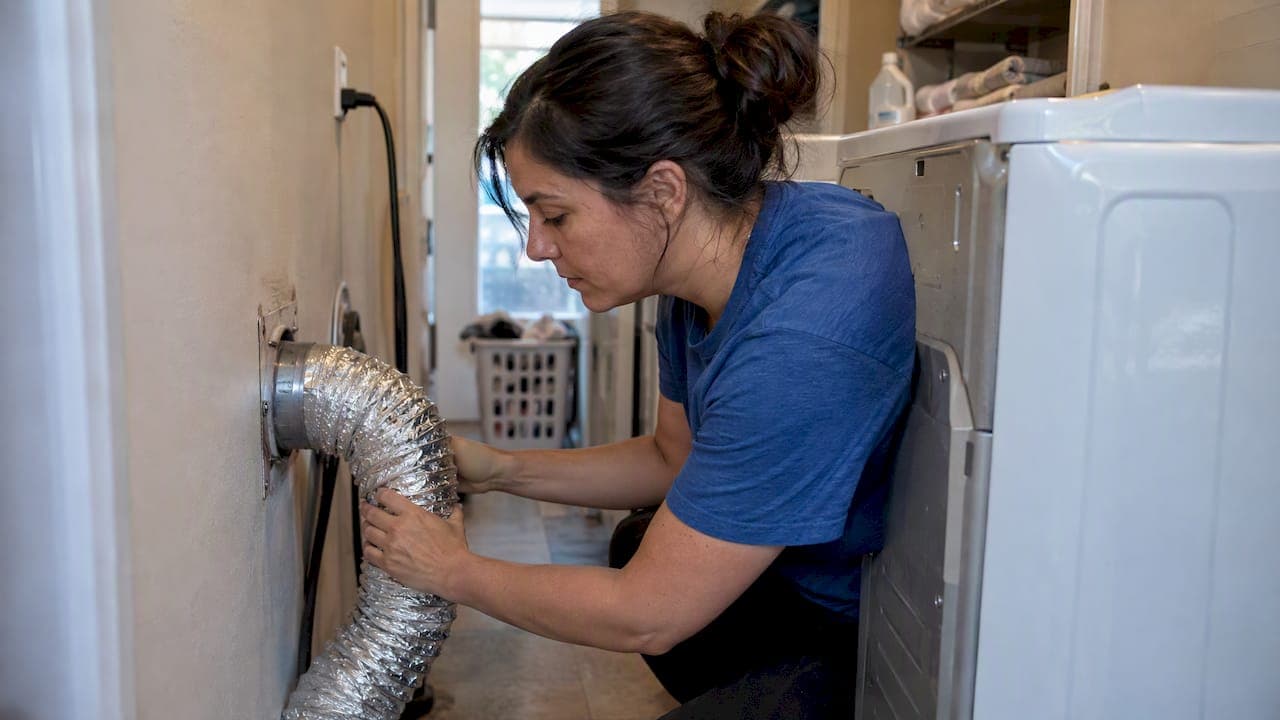
Work from the dryer outward before you ever touch a ladder. Most lint collects in the first few feet of duct and at elbows, so starting inside often solves the problem without a roof visit at all.
- Unplug the dryer and pull it away from the wall, then disconnect the exhaust duct at the back.
- Vacuum the dryer's exhaust port and the first few feet of duct with a wet/dry shop vac and a narrow attachment.
- Feed a flexible rod brush kit or a rotary brush kit through the duct from the dryer end, pushing toward the roof termination.
- Reconnect the duct, run the dryer on an air-only cycle, and check airflow at the roof cap from the ground with binoculars if you can.
- If airflow is still weak and the roof is safe to access, move to the topside cleaning steps.
If you do proceed to the roof, remove the cap carefully, since many are held with a single screw or clip. Brush-vacuum the duct opening from above, working rods down toward the interior cleaning you already did, then reseal the cap with the same screws or clips, checking that the seam against the roofing material stays weather tight.
Pro Tip: A leaf blower taped to the dryer port can dislodge loose lint in a short, straight run, but it will not clear a packed elbow or a mat trapped behind a damaged cap, and it can push debris into places you cannot see.
A short equipment list covers most DIY jobs:
- Wet/dry shop vac with a narrow hose attachment for the first few feet of duct.
- Flexible rod brush kit or rotary brush kit for longer or slightly curved runs.
- A screwdriver or nut driver for removing and resealing the roof cap.
These tools work well on short, reasonably straight runs. Long runs with multiple elbows, or ducts that have never been cleaned, usually need stronger mechanical brushing than a homeowner kit delivers.
While you work, check for a few warning signs. Look for a crushed or kinked section of duct, a perforated screen at the termination, signs of nesting material, and any gap or rust where the cap meets the roof. Any of these point to a repair job beyond routine cleaning.
Safety and roof-specific checks before you climb up
Before any topside work, decide honestly whether the roof is safe to walk. Steep pitches, metal roofing, and wet or windy conditions are all reasons to stop and call a professional instead of improvising.
- Use a properly secured extension ladder and have someone spot you from the ground.
- Avoid roof work in wind, rain, or early morning dew, when surfaces are slippery.
- Wear shoes with solid grip and avoid walking directly on ridge lines or skylights.
- Skip the climb entirely on steep or metal roofs unless you have roofing experience.
If your home has a metal roof, the footing and fastening considerations are different from asphalt shingles, and a metal roof maintenance specialist can advise on safe access points and flashing care.
One code detail matters more than most homeowners realize: perforated pest screens at the vent termination are a fire hazard rather than a helpful barrier. Code guidance from Portland's permitting office prohibits perforated screening at dryer exhaust terminations and requires a backdraft damper or a compliant louver configuration instead, because screens trap lint and restrict airflow. If you find a screen on your cap, treat it as a reason to replace the cap rather than clean around it. When removing and reinstalling a cap, check the flashing underneath; any cracking or gaps mean a roofer should reseal the area before you call the job done.
How often to clean and what to check between visits
Cleaning your roof dryer vent once a year is a reasonable baseline for most households, according to annual cleaning guidance for homeowners and landlords. Households that dry laundry daily, dry pet bedding, or run a long duct run should clean more often.
Between full cleanings, a few quick checks keep small problems from becoming clogs:
- Feel for weak airflow at the roof cap every few months by holding your hand near the opening while the dryer runs.
- Check the lint trap and the first foot of duct for buildup every time you notice slower drying.
- Look at the cap from the ground for sagging, damage, or nesting material after storms.
A DIY cleaning from inside typically takes 30 to 60 minutes. Adding roof access can double that time, while a professional visit usually moves faster because of commercial-grade equipment and experience with the roof segment.
Deciding when to hire a professional
Some situations call for a professional rather than another DIY attempt. Hiring out makes sense when:
- The duct run is long, has multiple elbows, or is simply inaccessible from inside.
- You find a pest screen or a damaged cap that needs code-compliant replacement.
- The vent keeps clogging again within a few months of cleaning.
- The roof is steep, metal, or otherwise unsafe for you to walk.
- Flashing around the cap looks cracked, rusted, or improperly sealed.
Cost for professional dryer vent cleaning varies by region, duct length, and how hard the termination is to reach, so get a quote based on your specific setup rather than a flat number. When you book a service, ask for a full inspection, cap replacement if the existing one is damaged or screened, and a warranty on the work performed.
What field visits typically reveal about roof vents
Across dryer vent cleaning and air duct cleaning calls, a few patterns show up again and again. Pest screens at the termination are one of the most common causes of repeat clogs, since lint mats against the mesh within months of a cleaning. Damaged or poorly sealed caps are another frequent find, often paired with roof-related dryer vent problems like leaking flashing.
Homeowners who clean their own vents sometimes report lint returning quickly, which usually traces back to an obstruction mechanical brushing alone did not remove. A proper inspection checks the cap, the screen or damper, and the flashing together, since clearing lint without fixing the cap tends to produce the same clog again.
Technicians with professional experience use commercial-grade equipment and look at the whole termination assembly, not just the duct interior, because the cap is where most recurring problems start.

A safety-first approach to vent maintenance
Clearing lint matters less than fixing what causes it to collect in the first place. The single most useful habit is checking the roof cap itself: a hidden pest screen or a cracked seam will undo a good cleaning within a season, so inspect the cap before you congratulate yourself on clear airflow.
— Shaun
Getting help with your roof dryer vent
Some service providers handle the parts of this job that are hardest to do safely yourself: full inspection, mechanical cleaning, and cap replacement when a screen or damage is found, often backed by a warranty on the work.
When you schedule, ask for an inspection of the cap and flashing along with the cleaning itself, since that combination fixes the problem instead of masking it for a few months. You can book a visit or check what's included on our dryer vent cleaning page.
FAQ
Can you clean a dryer vent without going on the roof?
Yes, many clogs can be reached from inside by disconnecting the duct at the dryer and feeding a flexible rod brush or vacuum attachment toward the roof termination. This clears the most common buildup points without requiring roof access, though a severely clogged or long run may still need topside work.
How often should a roof dryer vent be cleaned?
Cleaning once a year is a reasonable baseline for most homes, based on annual cleaning guidance for homeowners and landlords. Households with heavy laundry use, pets, or long duct runs often benefit from cleaning more frequently.
My roof dryer vent is clogged. How can I clean it?
Start by vacuuming and brushing from the dryer end inside the house, then check airflow at the roof cap before deciding whether to climb up. If you do access the roof, remove the cap, brush and vacuum the opening, and reseal it, but stop and call a professional if you find a pest screen, a damaged cap, or an unsafe roof pitch.
What is the typical cost for dryer vent cleaning?
Cost depends on duct length, roof access, and whether cap replacement is needed, so pricing varies by provider and property rather than following one fixed number. Ask for a quote that includes inspection and any necessary cap or flashing repair so you know the full scope before work begins.