
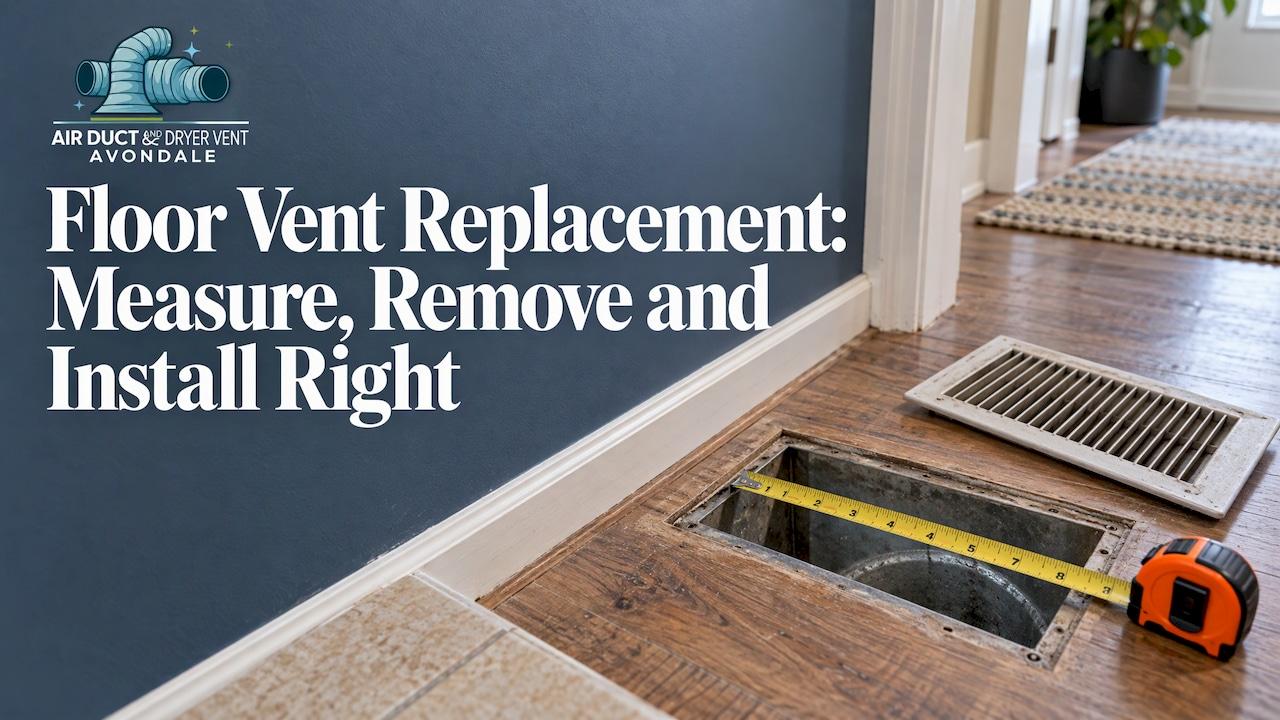
Replacing a floor vent takes about a minute once you have the right part. Getting the right part depends on one measurement: the duct opening under the register, not the visible faceplate. Measure that, order a register that matches it, lift the old one out and drop the new one in. Wall, ceiling and return vents follow the same logic with screws added. If the vent is damaged, rusted through, or the duct behind it is crumbling, we replace vents and repair ductwork for Avondale homes and businesses.
TL;DR
- Measure the duct opening from inside edge to inside edge, width first, then length. Never order by the outside of the old faceplate.
- Most floor registers simply drop in with no screws. Wall and ceiling covers are screwed on, and ceiling covers need support while you remove them.
- Return vents are sized by the opening too, and in a hallway or entry a steel or cast iron register holds up to foot traffic.
- Turn the HVAC system off before working, and wear gloves because vent edges can be sharp.
- A cracked boot, loose duct or heavy buildup behind the vent is a duct job, not a cover job.
Table of Contents
- Know which vent you are replacing
- Step 1: Measure the duct opening
- Step 2: Choose a register that suits the spot
- Step 3: Remove the old floor vent and install the new one
- Replacing a wall vent
- Replacing a ceiling vent
- Replacing a return vent
- What it costs
- When the problem is behind the vent
- For property managers and business owners
- Replace vents with us in Avondale
- Our view on vent replacement
- FAQ
- Sources
Know which vent you are replacing
Homeowners and property managers use "vent" for several different parts, and the right replacement depends on which one you have.
- Supply register: blows conditioned air into the room. It usually has a damper (an adjustable flap) so you can control the airflow and direction.
- Return grille: pulls room air back to the system. Grilles generally have no damper, and filters belong in return vents rather than supply vents.
- Boot: the metal or plastic box in the floor, wall or ceiling that connects the duct to the register. The register sits in or over the boot.
The difference between registers and grilles is covered in the Ventiques guide to durable registers. If you want the bigger picture of how ducts and vents relate, our ducts versus vents explainer walks through it.
Step 1: Measure the duct opening
This is where most replacements go wrong. A register is sized by the opening it drops into, not by its faceplate. As Long Supply explains, a 4x12 register fits a 4x12 cutout, and the faceplate runs bigger to lap onto the floor and hide the cut edge. Order by the outside of the old faceplate and you will likely get a size too big.
Here is the routine:
- Turn off the HVAC system so air is not blowing while you work.
- Lift out the old register. Most sit in the boot. If there are screws, remove them. If paint has sealed the edge, score the paint line with a utility knife first so you do not chip the floor.
- Measure the opening inside edge to inside edge. Do the short side (width) first, then the long side (length).
- Write the numbers down immediately, in inches. Do not trust a rounded number from memory or one printed on the old cover.
- Match to the nearest standard size. A hole that measures 4 x 12-1/2 inches is a 4x12 opening, per the same Long Supply guide.
A worked example
Say you lift the register in a hallway and the opening measures 3.5 inches by 11.75 inches. Fittes' rounding rule says to round down at 0.5 inch or lower and round up at 0.55 or higher. So 3.5 rounds down to 3, and 11.75 rounds up to 12. Because 3 inches is not a common size, measure again at several points: older openings are often hand-cut and vary along their length. If it truly is 3 by 12, you need that exact size or a slightly larger faceplate sized for a custom cut.
Common sizes and what to expect
Vent Covers Unlimited notes that 4x10, 4x12, 6x10 and 6x12 inches are common, especially in post-1960 homes, while older or renovated homes often have non-standard openings. The overall cover is typically about 1.25 inches bigger on each side than the opening. That matters if furniture, baseboard or a door swing leaves little clearance, so check the product's overall size as well as its duct size.
One ordering detail: for floor registers, the short side is listed first, so 4x10 and 10x4 are the same product. For wall and ceiling grilles, width comes first and 4"W x 10"H is a different product from 10"W x 4"H. Measure each opening separately even in the same room, since sizes can differ.
Step 2: Choose a register that suits the spot
Size gets the part to fit. Material and style decide how long it lasts.
| Location | What to look for |
|---|---|
| Hallway, entry, kitchen | Steel or cast iron for foot traffic and furniture pressure |
| Bathroom or humid area, moderate traffic | Aluminum |
| Bedroom, living room | Any finish that matches the floor and trim |
| Hardwood floor | Flush-mount, if the flooring is thick enough |
The traffic guidance comes from Ventiques: steel or cast iron suits high-traffic areas, while aluminum suits moderate-traffic humid spaces. Choose a register with a damper if the vent supplies air, so you can still close or redirect flow.
Flush-mount vents sit level with the floor and need more planning. You must know your flooring thickness (excluding any attached pad) and the plank direction. They install differently from drop-in styles, with pilot holes drilled into the subfloor and the frame fastened before the flooring and removable cover go in. If your floor is tile, laminate or hardwood that you do not want to cut, a standard drop-in register is the simpler route.
Step 3: Remove the old floor vent and install the new one
Floor registers are the easiest vent to swap.
- Pull the old register straight up. Do not pry against the floor. Wear gloves, since edges can be sharp.
- Clean the opening. Clear grit, paint flecks and carpet fibers from the duct lip, and vacuum out loose dust you can reach.
- Look down the boot. A rusted, bent or detached boot will not hold a new register properly. Note anything unusual before you go on.
- Lower the new register straight down so the faceplate sits flat on the floor. The louver frame fits into the duct opening and the lip rests on the floor. Standard registers typically need no fasteners.
- Set the damper, turn the system back on, and feel for air at the register. Listen for rattles.
If the register rocks or leaves a gap, the size is wrong or debris is still on the lip. Recheck before you force it.
High-traffic spots
A hallway return in front of bedrooms and a bathroom takes a beating. A thin stamped register can bend under footsteps. Heavier steel or cast iron lasts longer there, and the cover should lie flat with no raised edges that catch a toe. Note that a hinged filter grille made for a ceiling is not designed for floor foot traffic, so check the product's stated use before you buy.
Replacing a wall vent
Wall registers use the same opening measurement. Remove any screws, pull the old unit, and clean the opening. The new one goes in with tension-fitting spring clips or screws through the front lip. The frame fits the duct opening and the lip rests on the wall.
Do not overtighten the screws. Zoro's guide warns that overtightening can damage drywall. If a screw spins freely in a stripped hole, use a drywall anchor instead of a longer screw.
Remember that width comes first for wall products, so double-check your order before you buy.

Replacing a ceiling vent
Ceilings add two problems: gravity and the mounting surface.
- Switch off the HVAC system.
- Wear eye protection. Debris can fall when you loosen the cover.
- Support the grille with one hand before the last screw comes out. A second person makes this safer. Home Depot's guidance notes the cover can fall once the screws are removed.
- Score paint around the perimeter rather than prying hard against the drywall.
- Measure the clear opening and confirm the frame clearance and that the ceiling can support screws.
- Patch old screw holes and touch up paint. A new face may be narrower than the old one and leave a visible ring.
- Fasten with screws into suitable support. If they will not bite, use drywall anchors rather than relying on bare drywall overhead.
- Test airflow and listen for rattles.
If the drywall around the vent is crumbling or the boot has come loose from the ceiling, a bigger cover will not fix it. The grille should attach to solid support, and that repair is part of what we do when we replace vents and repair ductwork.
Replacing a return vent
Return vents pull air back to the system, so restricting them hurts airflow. Order by the opening, not the decorative face. For example, a 14-by-6-inch duct opening in one Home Depot installation sheet takes a front assembly of roughly 15.75 by 7.75 inches. Secure the grille to the wall or ductwork, keep the area clean and unobstructed, and fit a filter if the grille is a filter type.
Do not place furniture, rugs or a decorative cover that blocks a return. The system needs that air back.
What it costs
The part is cheap. A 2019 Planet Duct guide put standard registers at about $7 to $8 apiece, with more intricate styles and cast iron costing more, and sizes running from 2-1/4 x 10 inches to 8 x 14 inches. Prices have moved since then, so treat that as a starting point and compare current listings. For a whole house of vents, the cost is mostly in matching sizes correctly across many rooms, which is where mistakes and returns pile up. We do not publish prices for vent replacement, so ask us for a quote that covers your specific home or building.
When the problem is behind the vent
A new cover fixes a worn or ugly face. It does not fix what is behind it. Look for these signs:
- Dust or debris pouring out when you lift the register
- A boot that is rusted, crushed or pulled away from the floor or ceiling
- Weak airflow from one room even with a clean new register
- Visible mold or musty smell at the opening
- Construction dust left in the system after a remodel
These point to the duct, not the cover. Our guides on vent replacement for Avondale homes, top reasons for vent replacements and why duct size matters for efficiency explain what to look for. If you are weighing larger repairs, see what duct replacement can cost and why camera and static pressure checks come before replacing ducts.
For property managers and business owners
A building with dozens of vents multiplies every mistake. Wrong sizes, mismatched finishes and ceiling covers that are not properly supported become a maintenance list. We serve commercial clients with flexible scheduling, and our commercial air duct cleaning service fits alongside vent replacement when you want the vents and the ducts behind them handled together.
Replace vents with us in Avondale
We replace air vents for homeowners and businesses in Avondale, AZ, and we also clean ducts, repair ductwork and replace air ducts. Our work carries a warranty on all services, and our technicians are trained in HVAC cleaning, which is our specialty rather than a side service. When a vent swap uncovers dirty or damaged ducts, you do not need a second company: we handle the cleaning and repair too.

Start with our air vent replacement page, or see air vent cleaning if your vents are dirty rather than damaged. For bigger problems, we offer air duct replacement. You can also reach us through our main site.
Our view on vent replacement
Most vent replacements start as a cosmetic fix and turn out to be a look inside the system. When a register comes out, you are looking at the end of a duct that has been collecting dust, construction debris and sometimes moisture for years.
That is why we treat a vent swap as part of the whole airflow picture. A properly sized register, a secure boot and a clean duct behind it work together. Change only the cover and you may have a nicer face on the same problem.
We also believe in getting the measurement right the first time. The opening is the number that counts, and a tape measure beats memory every time. When a job involves more than one vent, matching sizes and finishes across the home is where a specialist saves you the most effort.
Our focus is HVAC cleaning, repair and replacement for Avondale homes and businesses, so vents, ducts and air quality are what we do every day.
Shaun
FAQ
Can I use a floor vent on a wall or ceiling?
Sometimes. With the correct size, many vent covers can be installed on floors, walls or ceilings. But floor registers are built to carry weight and wall or ceiling covers are screwed on, so choose a product made for its location. Ceiling covers in particular must be fastened to suitable support.
Do floor registers need screws?
Standard drop-in floor registers usually do not. The frame sits in the opening and the lip rests on the floor. Flush-mount styles are different: they are fastened to the subfloor with pilot holes before the flooring goes in. Wall and ceiling covers use their supplied screws or clips.
Why doesn't my new register fit?
The most common cause is ordering by the old faceplate instead of the duct opening. Another is rounding wrongly: round down at 0.5 inch or less and up at 0.55 or more. Measure again inside the opening and compare with the product's listed duct size, not its overall size.
How do I know if the problem is the vent or the duct?
If the new register is in and airflow is still weak, dust still blows out, or the boot is loose or rusted, the cause is behind the vent. That is a duct cleaning or repair job. We can inspect and handle it for Avondale properties.
Should I turn off the HVAC before replacing a vent?
Yes. Switch off the system before you remove covers, wear gloves for sharp edges, and use eye protection on ceilings. Support a ceiling cover before the last screw loosens so it does not drop.
Sources
- How to Measure for a Floor Register, Long Supply
- How to Measure Your Vents Correctly, Fittes
- Frequently Asked Questions, Vent Covers Unlimited
- How to Measure, AirGrilles
- Complete Guide to Durable Floor Registers and Vents, Ventiques
- How to Install a Floor or Wall Register, Signature Hardware
- How to Install a Floor Register, Bryce Hardware
- 20x25 Return Air Filter Grille, AirGrilles
- How to Install Air Vent Covers, Zoro
- How to Choose Vent Covers, The Home Depot
- Ceiling Vent Covers, Greenvent
- Sidewall Return Vent Installation, The Home Depot
- Replace Your Old Floor Registers, Planet Duct